Windows 10 supports Virtual Desktops with which you can easily Multiply your Screen Area without purchasing extra Monitors. Number of Virtual Desktops you can have is limited by the amount of RAM available on your Windows Computer. At a single point of time, you can view and manage 1 Desktop. Applications running on 1 Desktop do not appear on other Virtual Desktops and each Application creates a Taskbar Icon only on respective Desktop.
Multiply Screen Area with Virtual Desktops on Windows 10
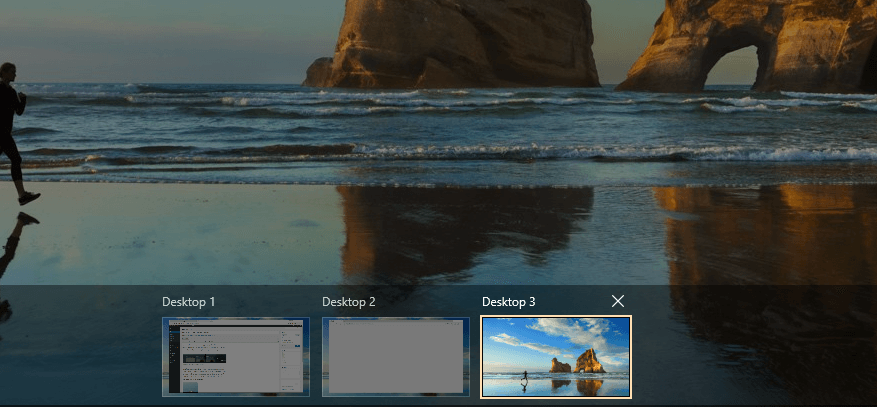
Switching between Multiple Desktops can be done with Keyboard Shortcut or with the Task View shortcut on the Taskbar of Windows 10. Yes you can even move Applications from one Desktop to the other Desktops. The main advantage of having multiple Desktops is that you do not view or notice applications running on other Desktops so that you can concentrate on your own Desktop. Yes you can have an audio player running on one Desktop and switch to other Desktop and can still hear the music coming out of your speakers. In our tests, there seems to be no limit in the number of Virtual Desktops that can be created, however create as many extra Desktops as you need and can manage.
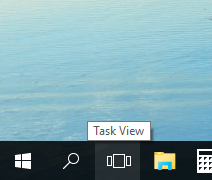
Task View Button on Taskbar to switch between multiple Desktops on Windows 10
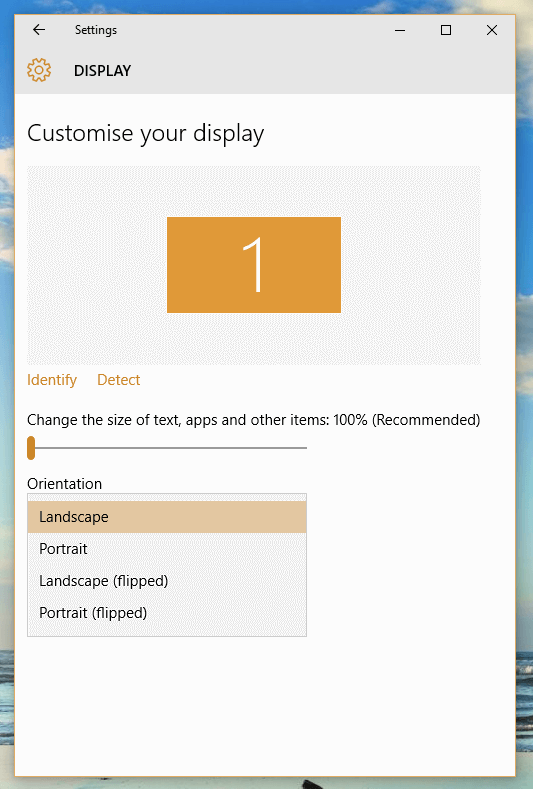
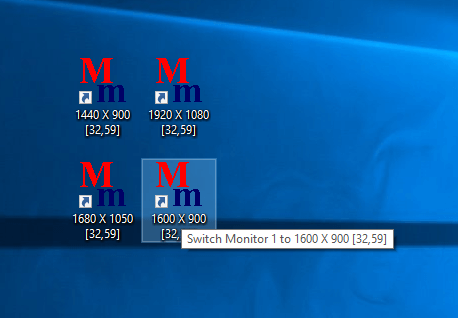
With the help of Ctrl + Windows Key + Right arrow Key, you can switch to next Virtual Desktop and similarly pressing Ctrl + Windows Key + Left arrow Key switches your active Desktop to the previous Desktop in the chain of Multiple Desktops. Using Dual or Multiple Physical Monitors with Windows 10 has advantage over this method of multiplying your Screen Area as you can view much larger Desktop Area without switching from one Desktop to other. When connecting physical Monitors in extended mode, you can have different Resolutions of each Monitor, however in this Virtual Desktop method, you can have only 1 Display Resolution for all your Virtual Desktops.
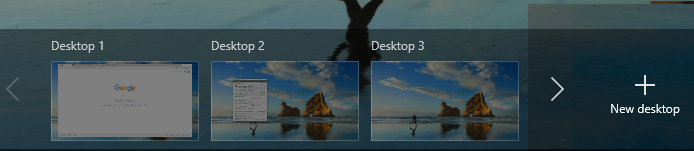
Multiple Virtual Desktops running on a Windows 10 Computer
Moving Applications from one Virtual Desktop to other Virtual Desktop is indeed supported and you can even close any Virtual Desktop without worrying about the applications running on it. If you close a Virtual Monitor with one or multiple Applications running on it, the running applications will be transferred to the previous Virtual Monitor automatically by Windows 10. Without switching to other Virtual Desktops, you can use Task Manager to view the Applications running on your Windows Computer or use a 3rd party Software Application to view / monitor Applications running on your Windows 10 Computer.